

For a long time I’ve been really excited at the prospect of using a tablet for navigation and infotainment but it’s been a slow process. I’ve played with a wide variety of sizes, brands and operating systems. I’m a faithful Android fan so it was an easy choice for me to stick with what I know. The next choice was size. The 10 inch size is great for many things but a 10 inch screen in my XJ would take up too much space. Also, I’ve found that the 7 inch size will fit into my cargo pocket so I’d be able to really carry it around at work. I let my wife know what I had settled on and then she surprised me at Christmas with a Samsung Galaxy Tab 7 that she picked up on Woot.com for $150! Score!
Since Christmas, I’ve pondered the mounting location and have been researching to find a mount that meets my needs. I already have a suction cup window mount for my phone, a Samsung Galaxy Nexus, but anything else mounted on the windshield would start to hinder visibility. I also wanted something that would allow for easy visibility for a co-pilot as well the driver when traveling solo. After asking around to fellow overland travelers who have some experience using a tablet for nav, it was an easy choice to go with Ram Mounts. (Thanks to Dave Croyle and Jordan May)
I went to RamMount.com to determine what parts I would need. The Ram Mount offers tons of versatility and lots of different mounting configurations. I finally settled on the diamond shape ball mount, long arm, and Universal X-Grip II. The long arm connects to the ball on the diamond shape mount and the X-Grip frame. To adjust the mount, there is a large T-knob that you only need to loosen to readjust the angle of the mount. I actually purchased all the parts through Amazon to take advantage of the Prime membership and get some free second day shipping.
Having pulled my dash apart numerous times before I know how to pull things apart. I determined that the center stack would be the best location. I found all the mounting hardware in the fastener bins in my garage, which reminds me that a well organized work area is a massive time saver!
All that’s left is drilling the holes, tightening the bolts and reattaching the dash. First, here’s a quick look at the parts.
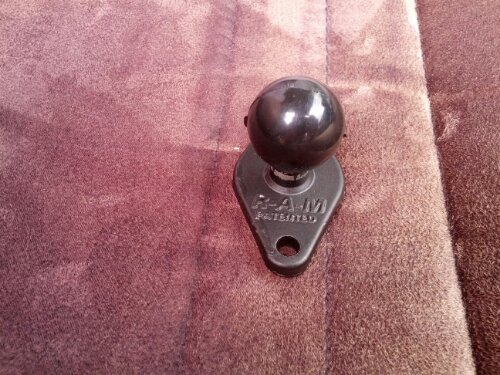
Diamond Ball Mount
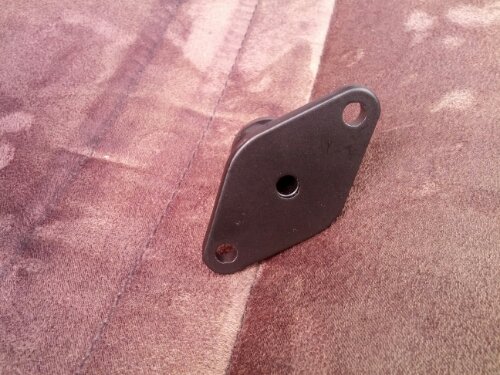
Diamond Ball Mount
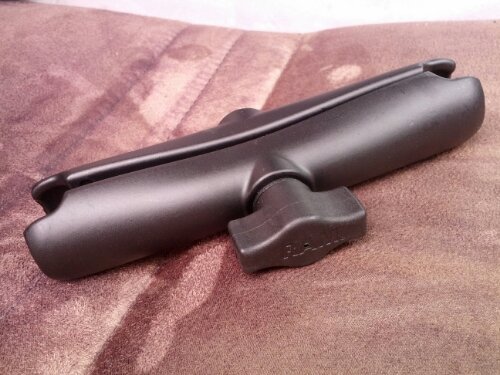
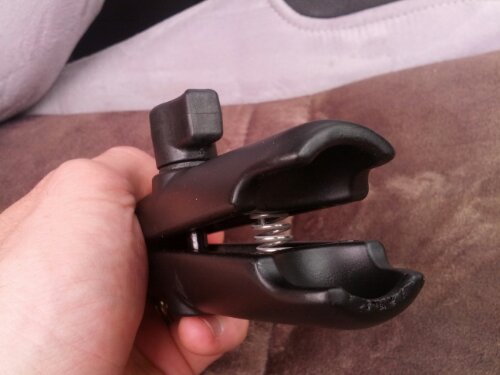
This is the part that I was most impressed with. The arm is seriously beefy and would provide plenty of clamping force on the ball mounts to keep things stable.
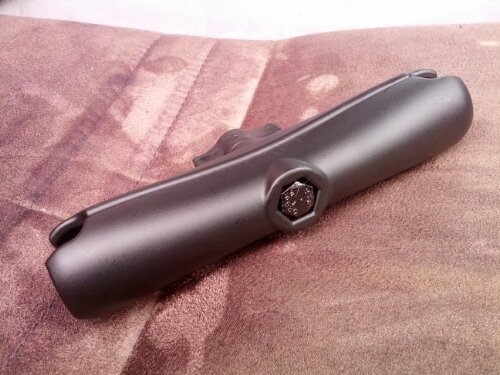
Long Arm Bracket
The spring inside confused me at first but when I gave everything a test fit, it became apparent that the spring provides just enough clamping force on one side to make adjustment easier. Its a very well thought out design.
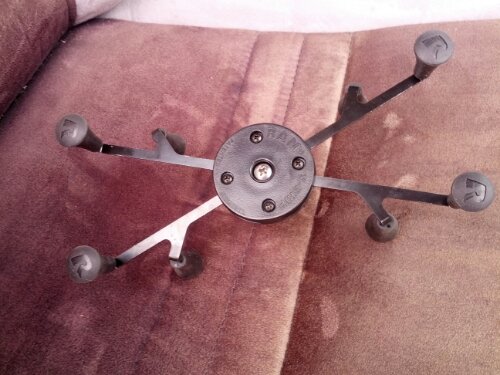
The X-Grip Universal Mount
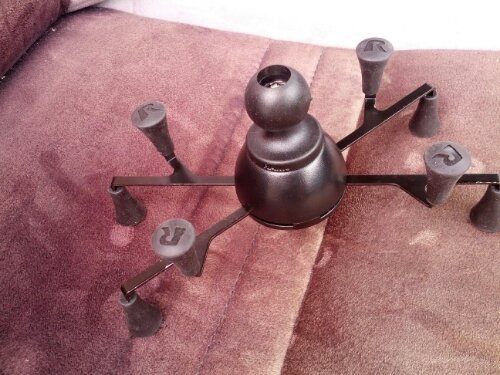
The X-Grip will accommodate a range of sizes
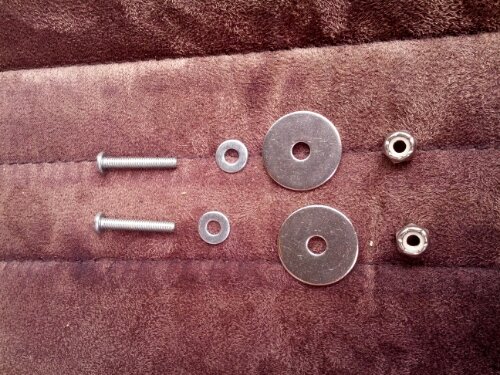
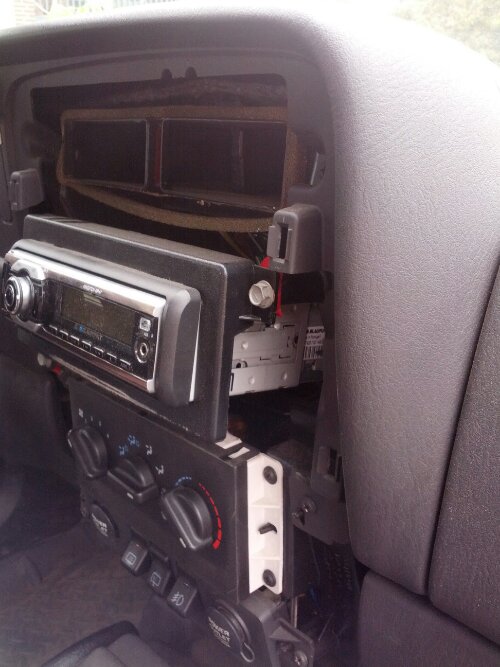
Installation really only took about 5 minutes. Drill holes, tighten bolts, replace panel, enjoy!
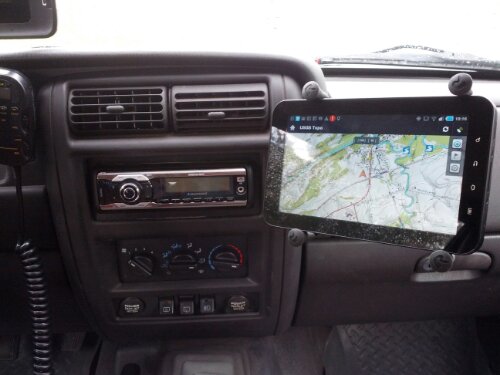
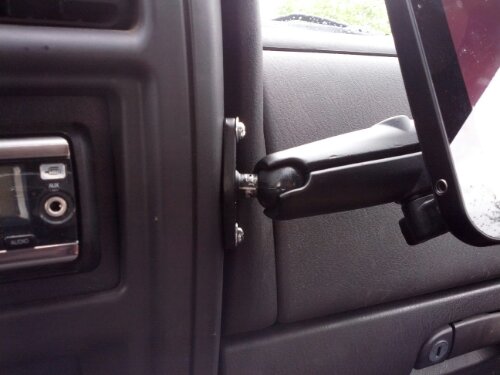
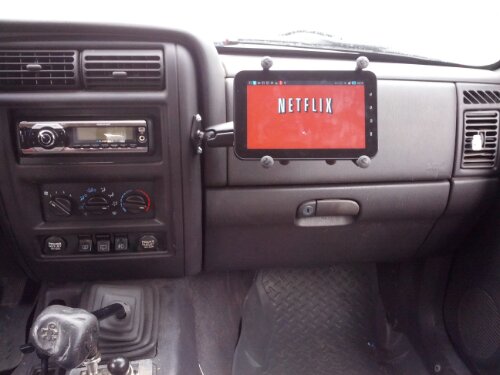
My initial impressions are very good. I like the mounting location. As I expected, the mount keeps everything well placed and easily within reach. There is one thing that I still need to sort out though; I’ve noticed that when the tablet is actually in the mount, it has a tendency to rotate a bit. I believe that this may be an issue with the design of the X-Grip because nothing else was moving. I haven’t gone through the support pages on Ram Mount’s website yet, but I will. And if I can’t find an official solution, I will devise one myself.


2 Responses to Ram Mount for Samsung Galaxy Tab 7 Installation